Installing Syncthing on Windows Desktop
Updated: 2024-09-24
In this guide, we will walk you through the process of installing Syncthing on Windows. Syncthing is a free and open-source file synchronization tool that syncs files between devices directly, ensuring your files remain private and secure.
Prerequisites
Before you install Syncthing, make sure your Windows operating system is up to date. You should also have administrative privileges to install software.
Step 1: Download Syncthing
It is recommended for new users to utilize the available integrations for precompiled assemblies for the ease of use.
- Open your web browser and navigate to the Syncthing Downloads page.
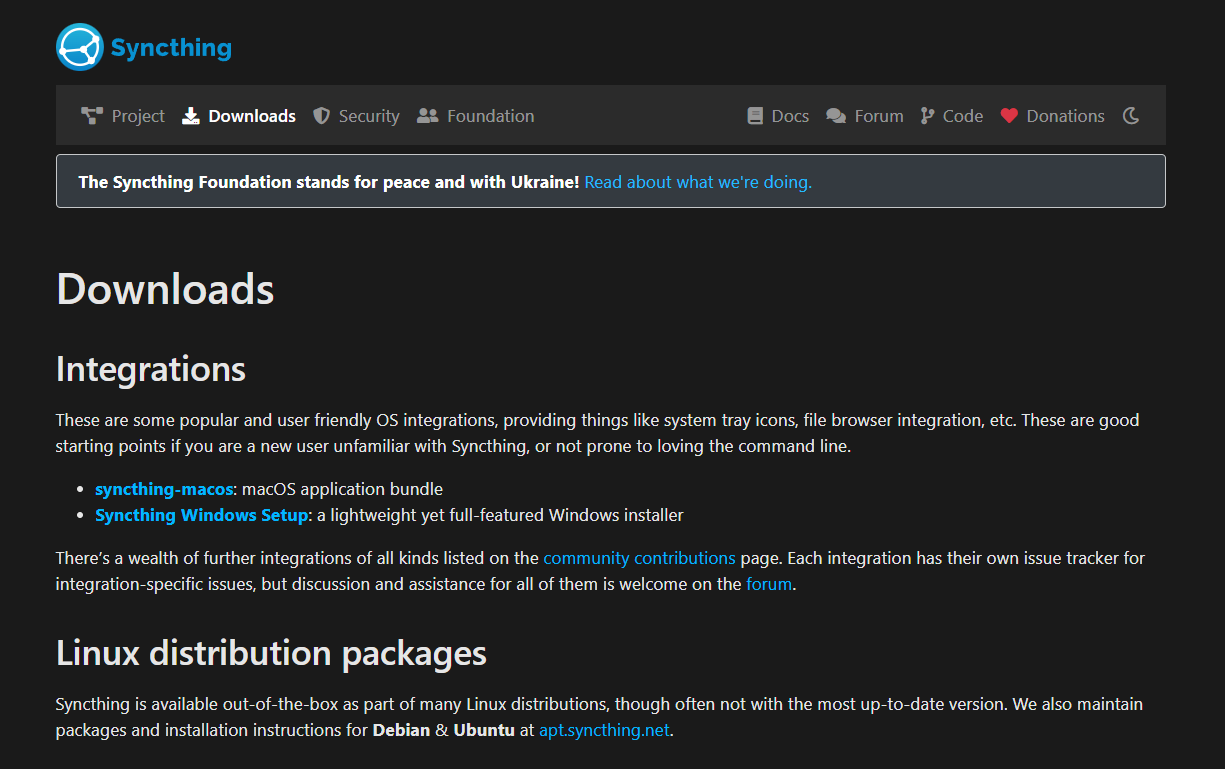
- Under the Integrations section, find the Syncthing Windows Setup and click on the hyperlink. You will be redirected to the GitHub release page.

- You can directly download the latest version of the Syncthing Windows Setup from the release page.
Step 2: Install Syncthing
After downloading, you might get a Windows Defender pop-up, warning about a potentially unwanted application (PUA). This is due to the way the program performs its network discovery. Syncthing is a legitimate application, and you can safely ignore this warning.
Here’s the VirusTotal scan for the latest version (v1.27.11).
- After downloading, locate the installer file in your Downloads folder and double-click it to start the installation.

- If Windows Defender SmartScreen blocks the file, click More Info and select Run Anyway.
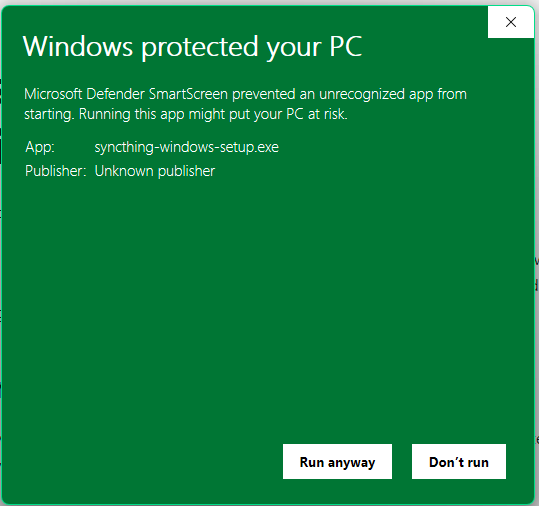
The installer will request administrative privileges; accept the prompt.
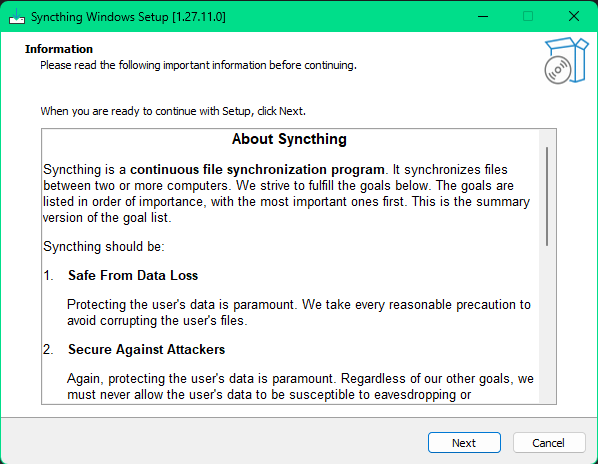
- Page 1
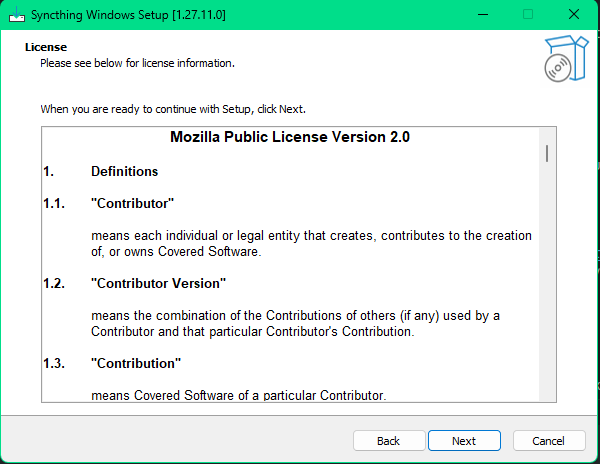
- Page 2
- Page 3
- Page 4
Syncthing Installer Page 1
- Accept the installer information and click Next.
Syncthing Installer Page 2
- Accept the licensing agreement and click Next.
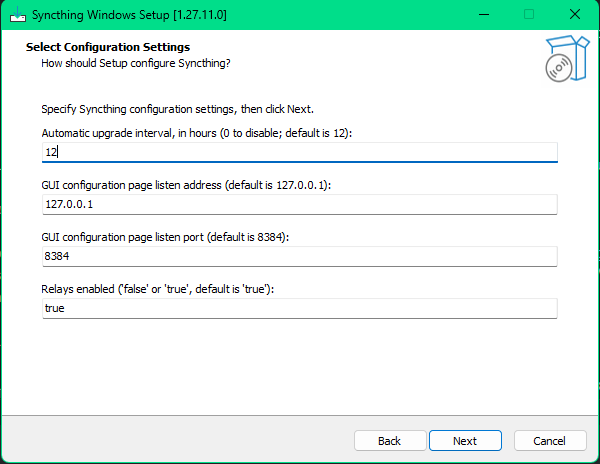
Syncthing Installer Page 3
Syncthing uses a mesh network with relays to improve discoverability between devices.
This is a secure method, but if you prefer, you can disable relays by setting the
Relays Enabled option to false in the configuration settings.
By default, Syncthing only listens on localhost, meaning only this device can access the Syncthing web GUI.
You can change this setting later from the web GUI, for example, to allow access through Tailscale or other VPNs.
- Accept the default configuration options unless you have specific preferences.
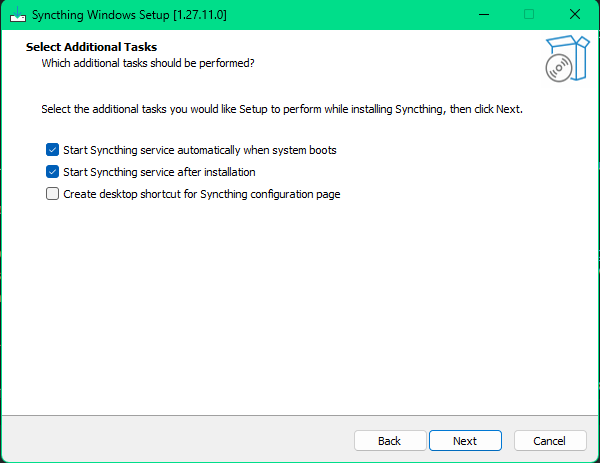
Syncthing Installer Page 4
- You may see additional configuration options during the installation.
Step 3: Running Syncthing
- Once the installation is complete, you can run Syncthing. If it doesn’t start automatically, search for Syncthing in the Start menu and open it.
- Syncthing will open a web interface in your default browser, which serves as the control panel.
If the web interface doesn’t open automatically, you can access it by visiting http://localhost:8384 in your browser.
Conclusion
Syncthing is now installed and configured on your Windows system. With its secure, peer-to-peer file syncing, you can easily synchronize data across your devices. For advanced features or troubleshooting, check out the Syncthing documentation.
For further configuration, check out our guide comming soon.